 Article Images
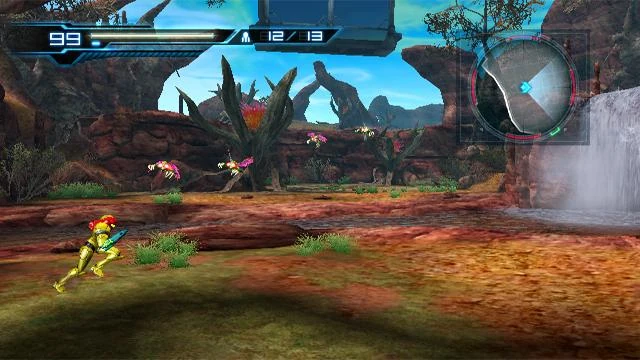
The Observation Room (監視ルーム?)[1], also called Experiment Floor 1[2], is a room in the Biosphere. It appears in Metroid: Other M.
The Observation Room is open to the sky, and consists of a barren ground with a waterfall that hides a cave. In the sky, there is a window that is seemingly floating there. Behind the waterfall there is a Fly Pod spawning Reos that must be destroyed to expose a hole leading to a tunnel, which must be traversed in Morph Ball form, and leads to a blockage that can be destroyed with a Bomb. This takes Samus up to a cliff high above the room, with a holographically generated background. She finds a sleeping creature burrowed up against another rock wall, and then finds a Holographic Generator.
Upon using this, the background becomes that of an indoor facility, connecting to the floating window. The howl of little birdie provokes the sleeping creature, a Dragotix, as well as a trio of Sidehoppers, into attacking Samus. Killing them all is optional, and if Samus chooses, she can simply ignore them and make her way to a Kick Climb shaft to exit the room into a Geemer-infested corridor.
The observation area of the room is an indoor box accessible from the "illuminated corridor", and contains numerous terminals and floor lights. A destructible barrier against the right wall guards a series of tunnels that leads to the Scrap Block. The tunnels contain cubes of rubbish that Samus must remove with Bombs, and a Geemer that ends up in the garbage shoots.
On later return visits to the room, the Dragotix is located on the lower ground. A Morph Ball launcher within the air duct of the long dirt tunnel will launch Samus up through a puddle of water on the ground.
- "Pressurized corridor" (via automatic door)
- "Geemer-infested corridor" (via automatic door)
- Long dirt tunnel (via one-way Morph Ball launcher)
- Missile Tank
- The tunnel leading to the Scrap Block has a Missile Tank near its end. Samus must carefully jump over a hole in the floor to reach it. If she does fall, a Bomb Jump can allow her to get back up to it.
- Energy Part
- The same tunnel has a branch-off that leads to a ledge in the Observation Room that cannot be accessed otherwise. Two Grapple Points can allow Samus to use her Grapple Beam to reach the Energy Part on a farther ledge, although she can also use the Space Jump.
- The Observation Room concept art depicts it to be a much grassier plain than in the game, and also with several trees stretching into the background.
- The concept art also depicts a form of Stevenson screen in the Observation Room, although no such device is seen in the game.